Halloween Baking: Spooky WitCH Fingers
I’ve been wanting to bake these witch finger cookies for years now. I first saw them in a Martha Stewart Living Halloween book about 10 years ago and fell in love with how creepy they were. Back then I wasn’t as confident in my cooking skills as I am now so I didn’t even think they were something I could approach.
Fast forward many years and some baking disasters later and I finally made them a reality. Here are some things I learned if these have been on your baking list:
- They are more of a biscuit cookie texture, more crumbly. These aren’t going to be the soft, chewy cookie experience but have a more shortbread consistency.
- You will most likely end up doing these over the course of two days. I had a clear morning so I did them all in one day and it was fine, but next time, I will make the dough one day and then make the cookies the next day.
- These are not as hard or complicated as I made them out to be in my head. Don’t let the steps or process intimidate you.
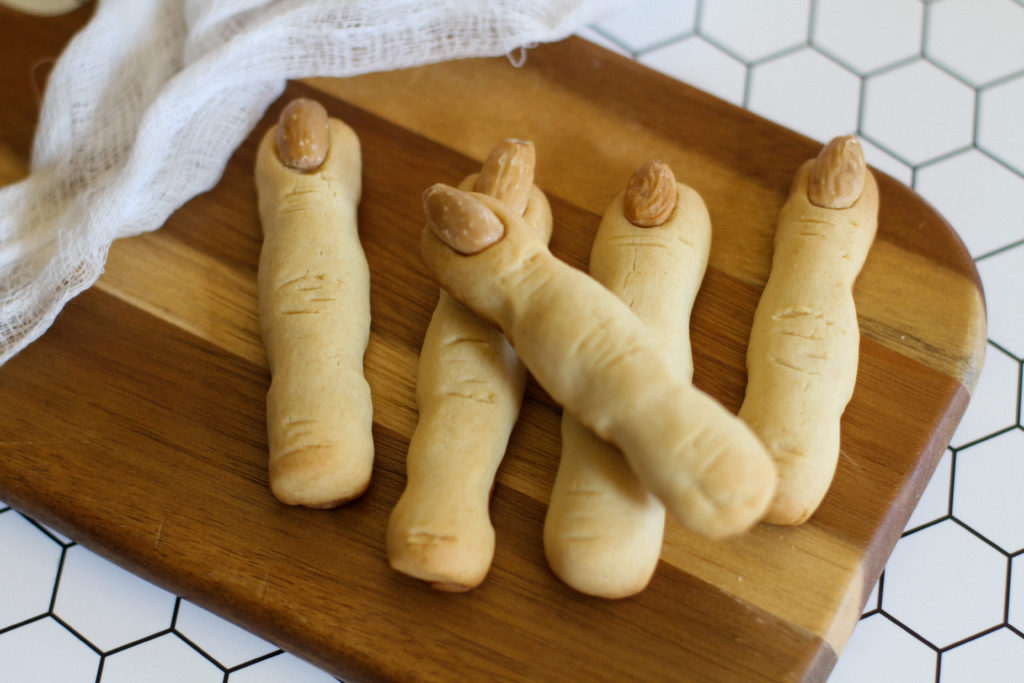
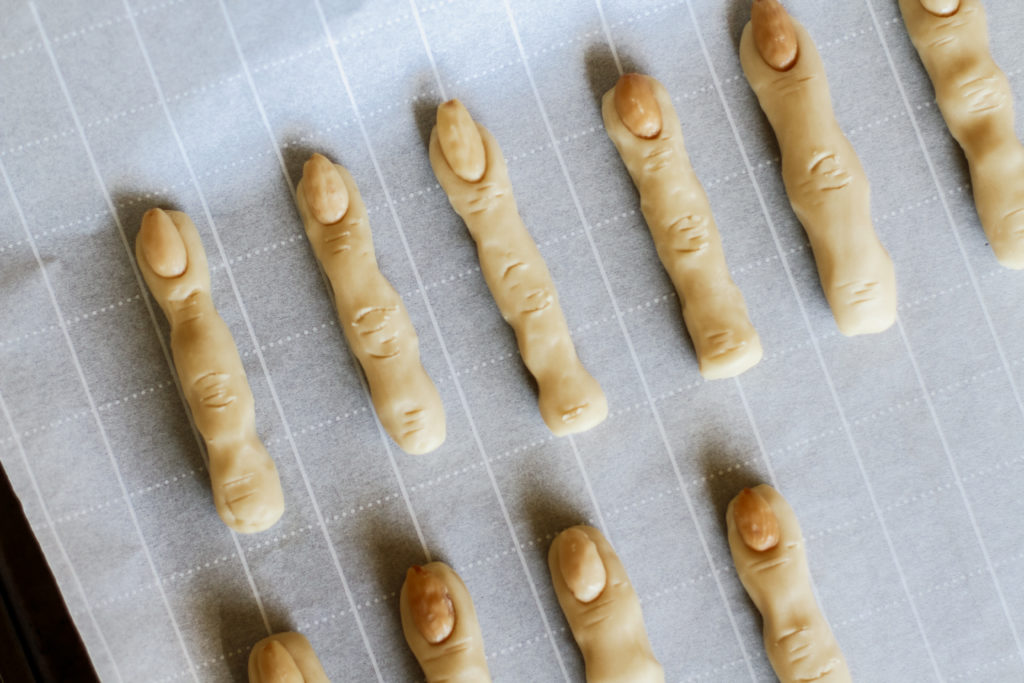
- Make sure you keep your fingers on the thin side when rolling them out initially. The cookies will plump in the oven so you want to make sure they stay bony looking.
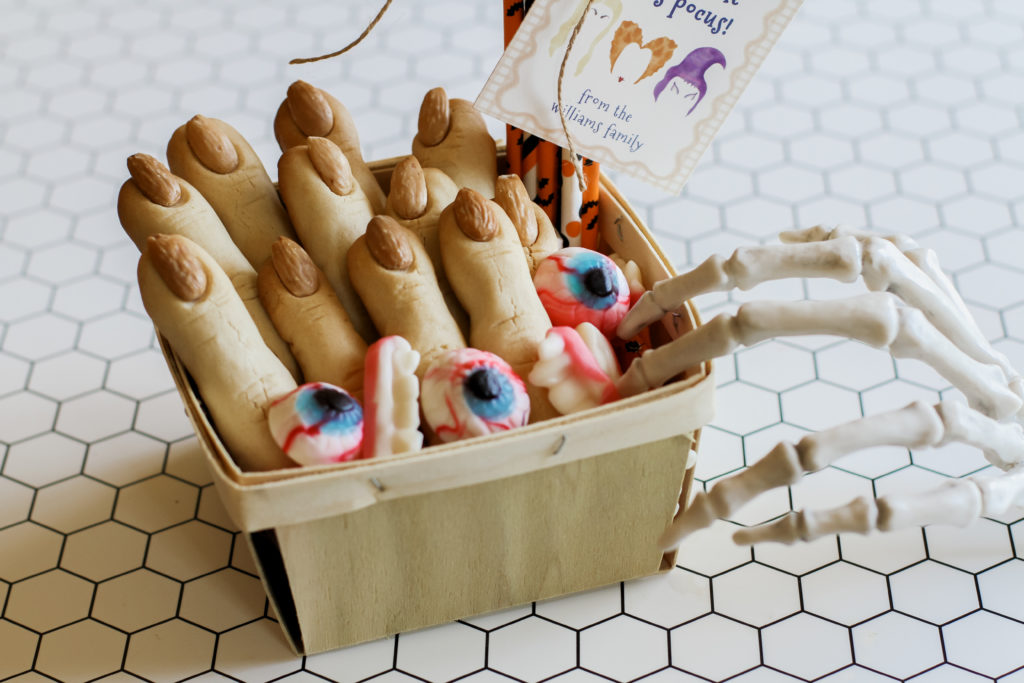
This was the recipe I used. The only differences I made were omitting the red gel because I didn’t have any on hand and using whole almonds instead of sliced.
Martha had regular skin on almonds on her cookies. I thought blanching the almonds first would give them a more realistic fingernail effect. Blanching the almonds was as easy as boiling them for 90 seconds, then transferring them to cold water and then peeling the skin off. Here’s the tutorial I used to learn how to blanch the almonds.
Items used in this post:
This is my favorite week of the year! Today I’m off to carve some pumpkins and then go on a ghost tour with my honey. Exciting times! Happy Halloween everyone!